How to install an LED strip – A step by step guide
Posted on April 27, 2016
Do you want to install your LED strip but don’t know where to start? Here is an easy step by step guide.
-
- Step 1. Measure the area where you want to put the LED channel.
-
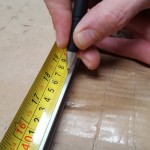
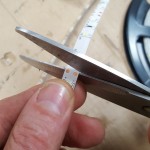
- Step 2. Measure the channel and diffuser to the correct size.
-
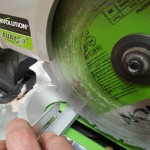
- Step 3. Cut the channel and diffuser to size.
-
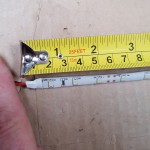
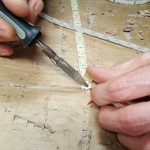
- Step 4. Measure the LED strips.
-
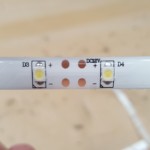
- Step 5. Remember that the LED strips must only be cut after every 3 LEDs or 50 ml.
-
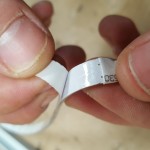
- Step 6. Cut the LED strip to the correct measurement.
-
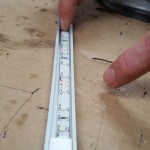
- Step 7. Solder the wires to connect to the strip.
-
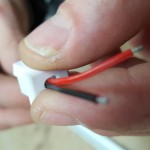
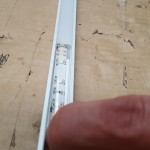
- Step 8. Insert the wires into the end cap.
-
- Step 9. Peel back the sticky tape on the LED.
-
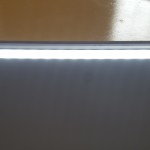
- Step 10. Stick the LED strip down on the channel.
-
- Step 11. Cover the diffuser over the channel.
-
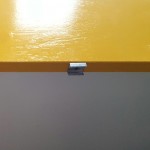
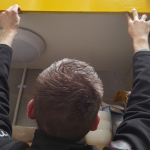
- Step 12. Screw the hanging brackets into place before inserting the channel.
-
- Step 13. Fix the channel. Make sure you use the correct fixings depending on the surface.
-
- Step 14. Connect to the power cable then turn on the light and enjoy your new lighting.